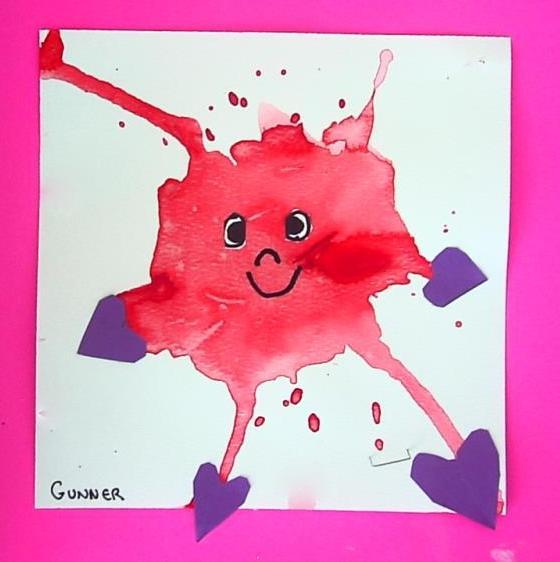
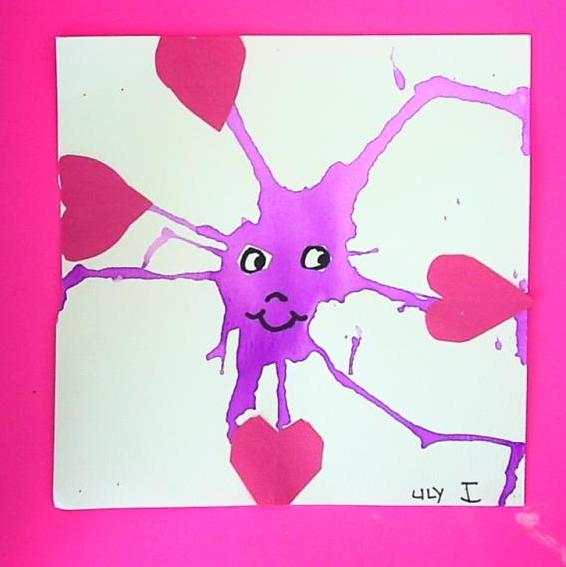
We made these "Love Bugs" for Valentine's Day this year. We used watercolour paper which helped with the effect. Student put a big puddle of watercolour paint in the middle of their page, then tilted the paper from side to side to create the legs and arms. Once the bugs were dry, students added cut out hearts for arms and legs. With a sharpie, they drew and cut out eyes on a white piece of paper. The last step was adding the simple eyes and mouth. Very easy, fun project!
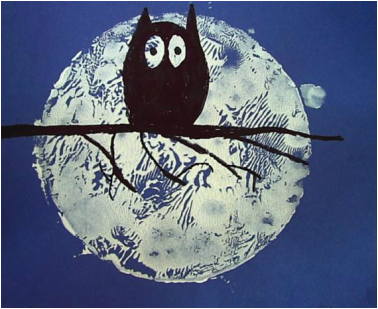 Love this one! The moon is a print done with a round piece of styrofoam and white paint. The branch was added with a black sharpie once the paint had dried. The owl was explained as an oval with two small triangle ears. They left two spaces for the eyes before coloring in the owl. The effect is awesome!
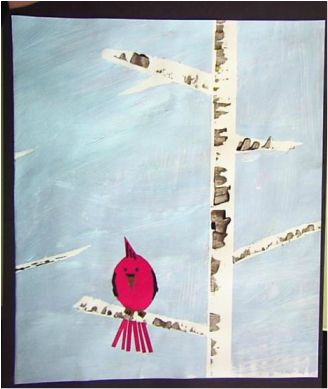 Students used tape to mark out where their birch tree would stand. They painted over the tape with light blue paint, then lifted it to reveal the whtie trees. Students then used a straight edge object and black paint to mark the bark on the trees. The bird was made with construction paper.
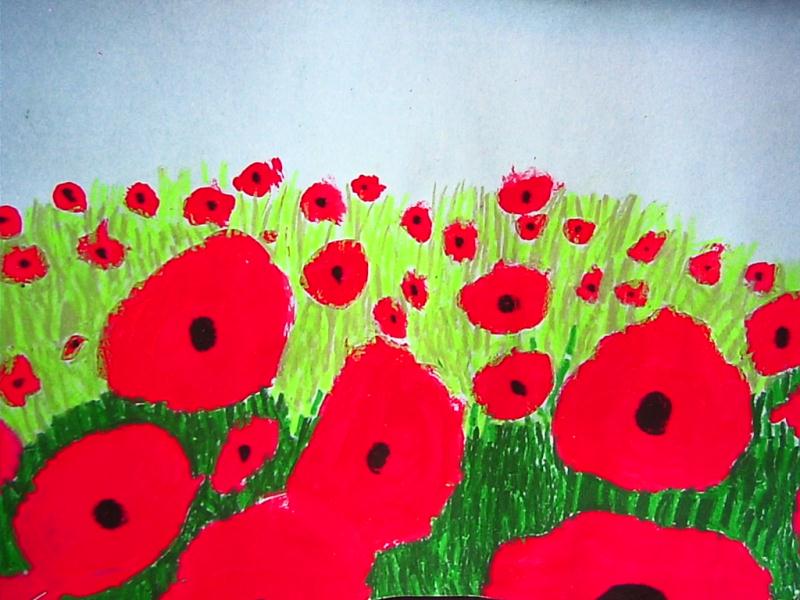 For remembrance day we created these fields of poppies. Students began by painting red "blobs" on blue construction paper. The blobs got larger as they went down towards the bottom of their page. Once they were dry, students used green pastel to colop in the grassy field. Students were told that if they want to get the illusion of perspective they should have darker grass at the bottom of their page and lighter grass towards the top.
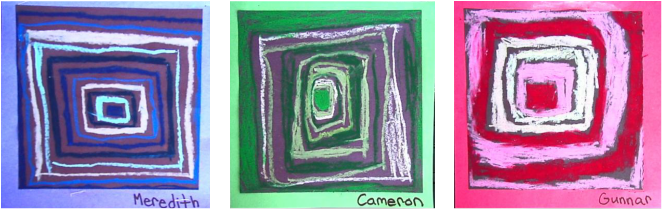
We made these as our first art project this year. Students chose a "group" of pastel colours in light and dark shades. They were given a square black piece of paper and were asked to start with one square in the middle then expand the size of their square as they continued in different colors. They were mounted on similar colors, but would also loo interesting mounted on complimentary color
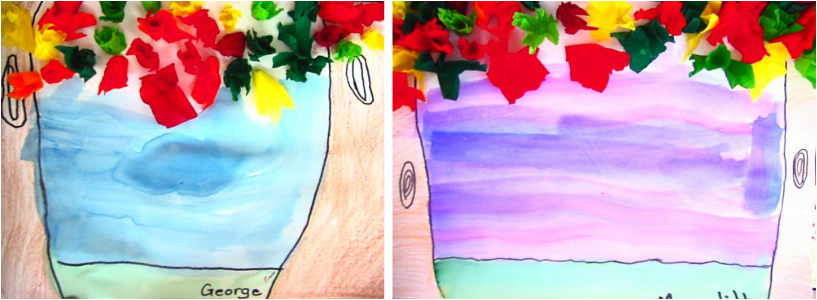
We started these by drawing two lines down the sides of our page for the trees and a line to connect as the horizon. Students traced their lines in sharpie then coloured the tree trunks with a brown crayon. Students were given small square tissue paper in a variety of colors, glue, and a pencil crayon. They wrapped the tissue around the bottom of their pencil crayon, dipped it in glue, then attached the tissue to the paper. Once they were satisfied with the amount of leaves on their tree, they used watercolor to paint the sky blue and the grass green.
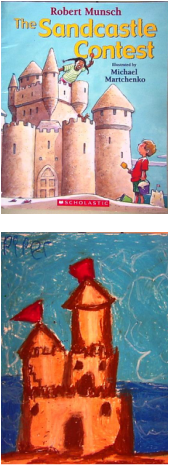 Summer Vacation is upon us! As our last art project of the year, my students drew and coloured sandcastles. The drawing was done step by step. The first line was the sandy horizon line on the bottom of the page. In the next steps, students drew their castles from the bottom up. They chose how they would like to tower their castles. Then, they added details like doors and windows. Student then drew the line behind their castles where the sky and water meet. Using a dark brown pastles, students outlined the shapes in their castle. Next, they coloured the rest of their castle light brown. To give the impression of light, students added white to the middle parts of the shapes in their castle. Dark blue was added for the water and light blue for the sky. Some student added white clouds and waves.
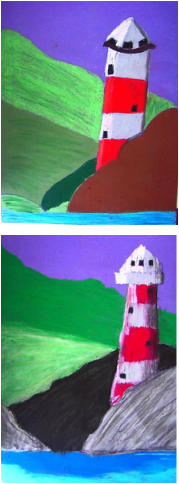 The Grade 4 students made these lighthouses as a part of their Social Studies unit which explores landscapes in our province and across the country. Students started with a piece of blue construction paper. They used a pencil to sketch the hills and lighthouse. This was done as a step by step. They started by drawing the waterline, then a rock. The lighthouse was added next. I described it using basic shapes; a crooked rectangle, and a triangle. They finished the sketch by drawing the rolling hills behind the lighthouse. After the sketches were drawn, they coloured their lighthouse with red and grey stripes using pastel. I showed students that they could make their lighthouse look rounded by adding white to one edge and black to the other. They finished their artwork by colouring the rocks and rolling hills.
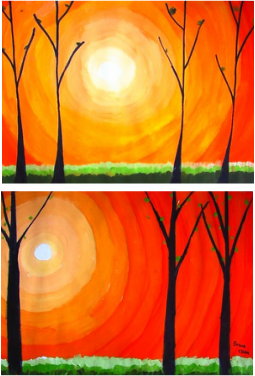 These sunsets were a 2 day project by the Grade 4 class. The first phase was the sunset background. Students started with a white circle on their page. They increasingly added more orange to their colour as they made larger and larger circles. On the second day, students drew the trees and coloured them in with a black sharpie marker. The grass was made using the same tinting process as the sunset. Students started by making a light green and painting it on their page. They used a middle tone for the next layer, then they used the darkest tone for the bottom. The small buds on the trees were added last.
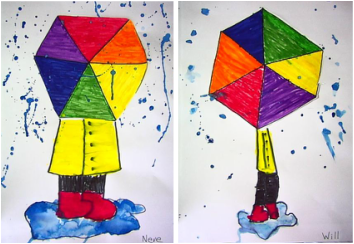 These pictures are a review of the colour wheel just in time for spring rain! The colour wheel was coloured first in marker, then cut out and glued onto a larger, thicker piece of paper, Students drew the raincoat, pants and boots with a sharpie marker. They painted the clothing with tempra paint. The puddle and raindrops were the final step. Students "flung" the blue watercolour paint onto their page, then lifted it up to give the dripping effect of the raindrops. For the puddle, they painted watercolour (with lots of water!) then sprinkled a bit of salt on top to give the illusion of ripples in the water.
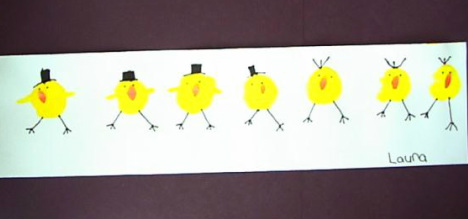 These chicks were a VERY cute idea from pinterest. Students stamped yellow circles and made lines for wings. The orange beaks were cut out of construction paper and glued on so that they open and close. They used sharpie marker to add the little details like eyes and hair. Too Cute!
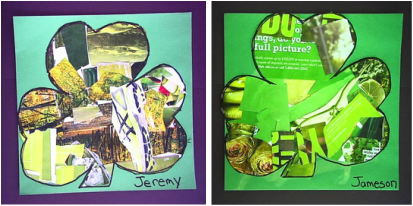 Students made a square collage out of green magazine cuttings. The shamrock shape was traced on, then cut out. After trying a few colours, they seemed to look best matted on green. Students glued their shamrock onto the green background. The last step was tracing around the shamrock in black sharpie marker.
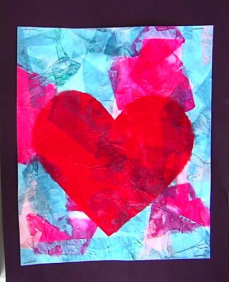 Using craft paste and tissue, students glued square tissue on their paper as a background. Next, they added their heart cutout on top. We let them dry over the weekend (they were VERY wet!). Next, we chopped the messy edges off. These should be made on cardstock or a heavy paper because they curl up quite a bit as they dry. This would also make a very nice window hanging if transperencies were used rather than paper.
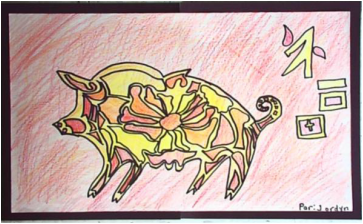 I did this project with a group of grade 5 students several years ago. students drew the outline of the animal by following my example - step by step. They decorated the inside with a variety of shapes. Students used warm colours in a variety of tones to colour the picture. Outlining the image with black sharpie marker really helps to make the image pop. For my younger students, I will give them a photocopy of the outlined animal. This year is the year of the horse...how exciting!
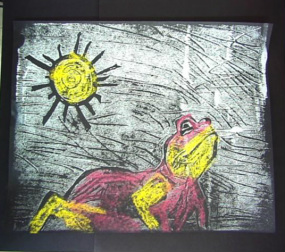 Transfer paper can be used to copy any image onto styrofoam. After it has been copied, it can be etched into the styrofoam with a pencil. White paint is applied onto the styrofoam and the image is transferred onto a black peice of paper. For my young students I selected and etched some familiar Australian animals such as, the gecko, a koala bear and a kangaroo. The students applied the paint and stamped it onto their piece of paper. For a bit of "pop" the student coloured the animal with chalk pastel. This idea came from the website " http://www.zartart.com.au/html/gallery.html
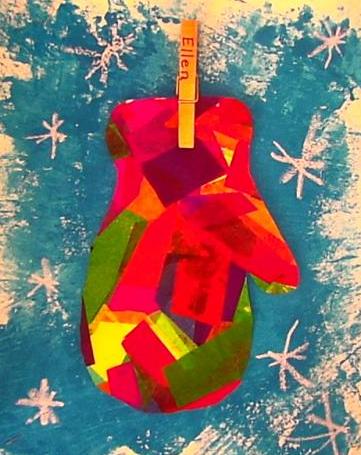
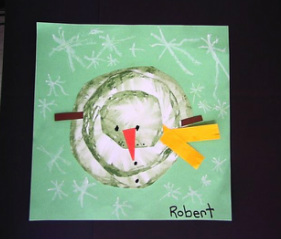 This snowman has three circles stacked on top of each other to create the "Birds Eye View" effect. I photocopied three circles on card stock for the younger students. They traced around the circle with oil pastel, then smudged the pastel in towards the center of the circle. Students then cut the circles out and glued them on top of each other. they added accessories on their snowman and some snowflakes. These snowmen look nice in a traditional blue colour, but students in my class were encouraged to try other colours, such as green, pink and yellow. The trick to making it look cohesive is ensuring that the background colour matches the colour of the snowman highlights
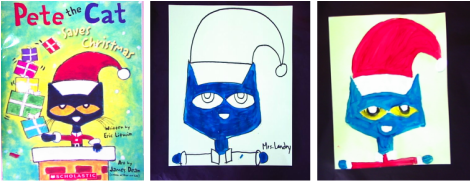 Students love Pete the Cat, and this new Christmas book does not disapoint. They were very excited to make their own Pete. I drew the outline of the cat and the students drew the hat, eyes and nose. Then they painted him.
|
I am an enthusiastic educator who loves combining great books, art and writing in my lessons. Visit my Teachers Pay Teachers store for free ideas and activities to enjoy with your students!
AuthorRenee Landry is an Elementary School Teacher in Rothesay, NB. Seasons SeasonsSome of my Favorite Sites:
http://www.zartart.com.au/html/gallery.html http://www.artprojectsforkids.org/ http://www.district6.nbed.nb.ca/artgallery/artgalleryindex.htm |